Managing draw workflow statuses
You can add and publish statuses that are used to create a draw workflow.
Note: Ensure that full access is provided to the Draw Workflow Management permission.
To add a draw workflow status, perform the following steps:
| 1. | Create a draw workflow. For more information, see Creating a draw workflow. |
On the Draw Workflow Builder page, in the Workflow Builder pane, Statuses are displayed.
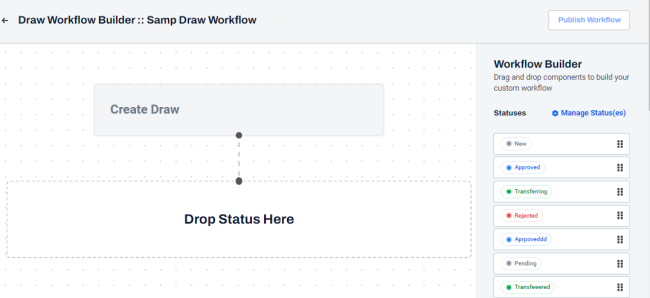
| 2. | In the Statuses section, click  Manage Status(es). Manage Status(es). |
The Manage Workflow Status(es) dialog box is displayed along with the Active and Archived tabs.
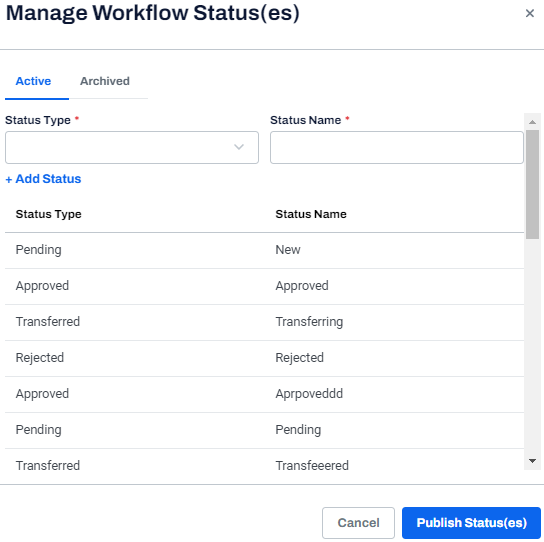
| 3. | In the Status Type drop-down, select the required status such as Approved, Pending, Rejected, Shared, or Transferred. |
Note: Standard statuses are placed under three categories:
• Pending - Draft and Revision Requested
• In Progress - Lender Review, Revision Requested, In Approvals, Approved, and Ready to Transfer
• Terminal - Transferred, Notice to Fund, Funded, and Declined
After transitioning to a terminal status, the workflow can only transition to additional terminal statuses.
| 4. | In the Status Name field, enter the status name such as Waiting for Review, In Review, Approved or Ready to Fund, or Funded. |
Note: To add multiple statuses, click + Add Status. An empty row is added to the editable list of Status Type and Status Name.
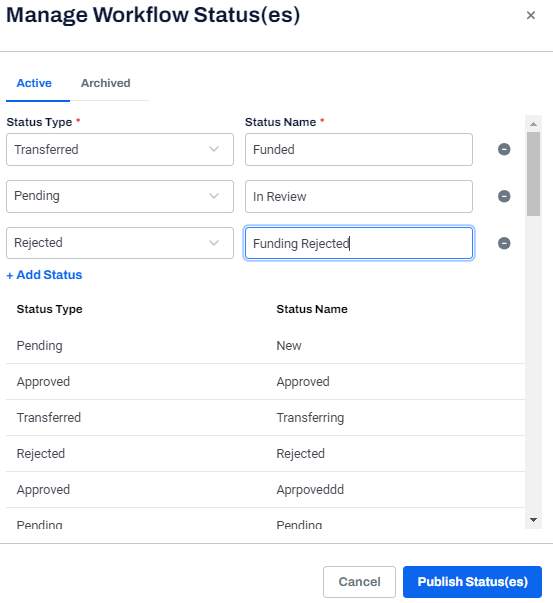
| 5. | Click Publish Status(es). |
In the Workflow Builder section, the status is added to the Statuses list.

| 6. | In the Create Draw section, drag and drop the status block. |
Note: Include four grid spaces between the two statuses.
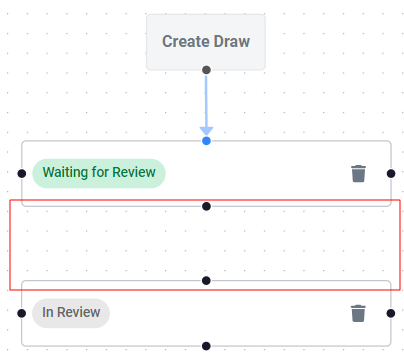
| 7. | To connect two status blocks, at the bottom-center of status block, click the Black dot  . . |
| 8. | Drag a line and connect it to the black dot of the next status block. |
A blue line connects the two statuses, with an Edit Transition button  in between.
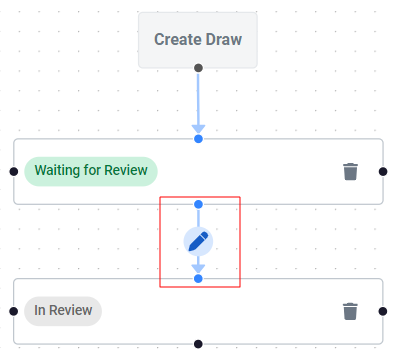
| 9. | To set rules and define conditions, see steps 9 and 10 in Adding rules while creating a draw workflow. |
| 10. | At the top-right of the page, click Publish Workflow. |

| 11. | On the Publish Workflow dialog box, in the Workflow Definition Name field, verify or edit the draw workflow name. |
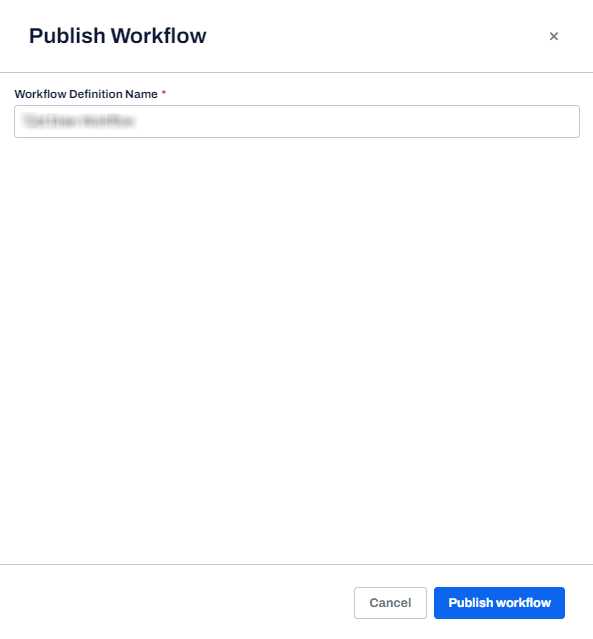
| 12. | Click Publish Workflow. |
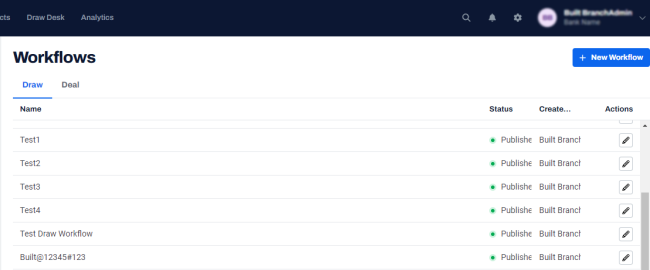
| 13. | To view the published workflow, on the left navigation menu, click Workflows. |
The Draw Workflow is displayed in the Workflows list with Published status.