Adding rules while creating a draw workflow
A lender can apply risk levels to the rules on Draw Workflows. This applies a 'Universal Credit Policy’ to each deal, so you can monitor violations of those rules, therefore identifying Draws that are at a higher risk than others.
Note: Ensure that full access is provided to the Draw Workflow Management permission.
To add rules to a draw workflow, perform the following steps.
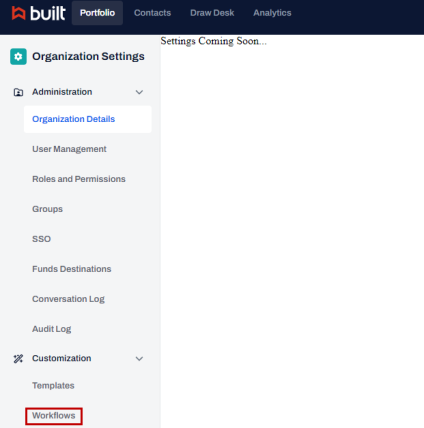
| 1. | At the top-right, click Settings |
| 2. | In the Customization menu, click Workflows. |
| 3. | On the Workflows page, click + New Workflow. |

| 4. | On the New Workflow dialog box, in the Workflow Name field, enter the workflow name. |
Note: By default, Workflow Type is selected as Draw.
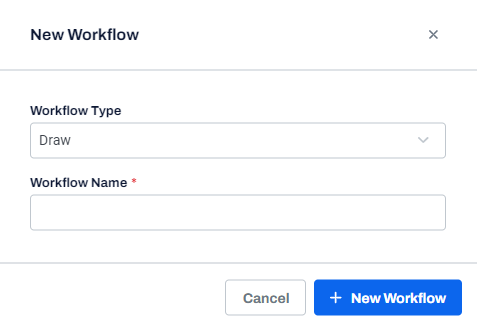
| 5. | Click + New Workflow. |
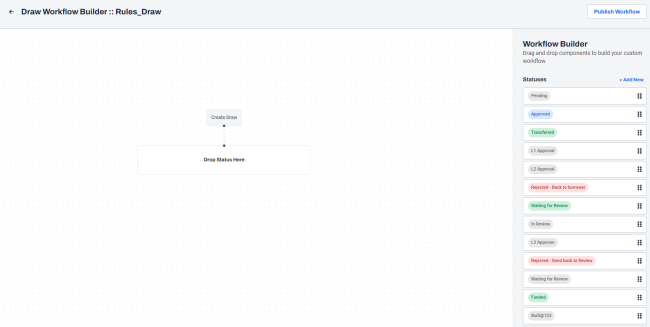
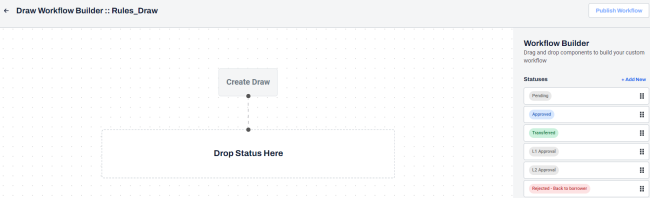
| 6. | To create a workflow, on the Draw Workflow Builder page, drag and drop the required statuses. |
Note: You can use a status only once in a workflow.
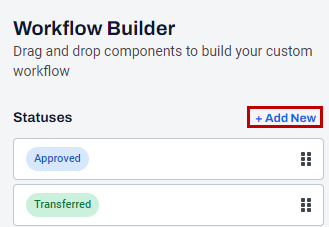
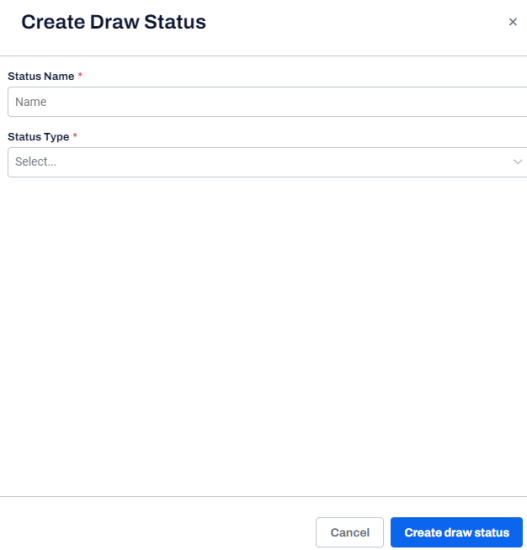
| 7. | To add a new status, enter the following information. |
| i | In the Workflow Builder section, click + Add New. |
|
| ii | In the Create Draw Status dialog box, enter Status Name and select Status Type such as Approved, Pending. Rejected, and Transferred. |
|
| iii | Click Create draw status. |
| The created draw status is displayed at the bottom of the Workflow Builder section. |
|
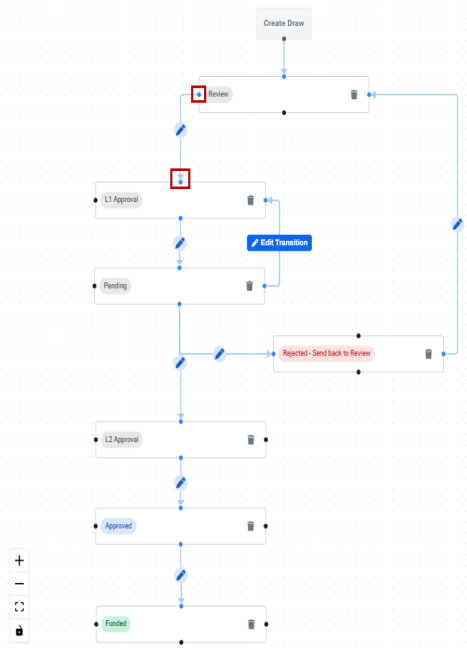
| 8. | To set the workflow, select and connect the dots displayed on each status box. |
| Icon | Usage |
|---|---|

|
Zoom in |

|
Zoom out |

|
Fit view |

|
Turn on toggle interactivity |
|
|
Turn off toggle interactivity |
|
|
Delete status |


| 9. | To define the conditions and actions to transition between these workflow statuses, click edit |
![]()
| 10. | On the Edit Transition page, enter the following information. |
![]()
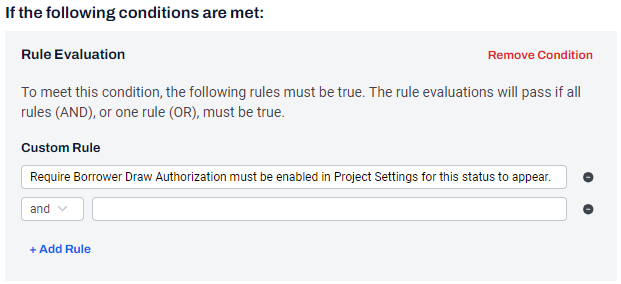
| i | In the If the following conditions are met box, drag the required condition from the Conditions drop-down. |

|
| ii | In the Custom Rule field, enter the rule details. |
Note:
• You can add only one Condition in the edit transition.
• To add multiple custom rules, click + Add Rules.
• In the drop-down select and , if all the rules conditions must be true.
• In the drop-down select or, if at least one rule must be true.
• To remove rule, click delete  .
.
• To remove the entire condition, click Remove Condition.
|
| iii | In the Then do the following: box, drag and drop the required action from the Actions drop-down. |
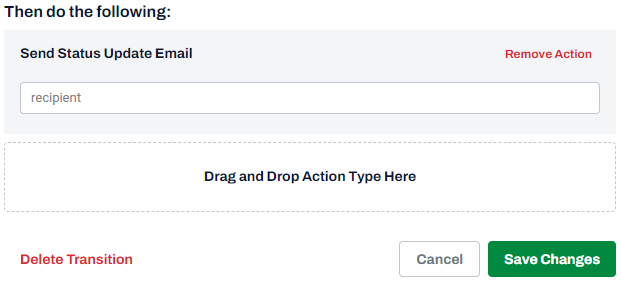
|
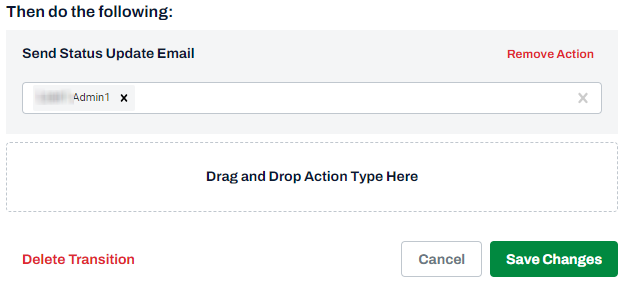
| iv | In the Send Status Update Email field, click and select a recipient email to whom you want to send the status updates. |
Note:
• You can add multiple recipient emails, in the Send Status Update Email field.
• To remove an email, click delete  .
.
• To remove all the emails, at end of the Send Status Update Email field, click delete  .
.
|
| v | Click Save Changes. |
Note:To delete the transition, click Delete Transition.
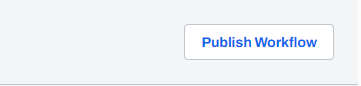
| 11. | Click Publish Workflow. |
| 12. | In the Workflow Definition Name, enter a workflow name. |
Note: By default, the previously added Workflow Definition Name is displayed.
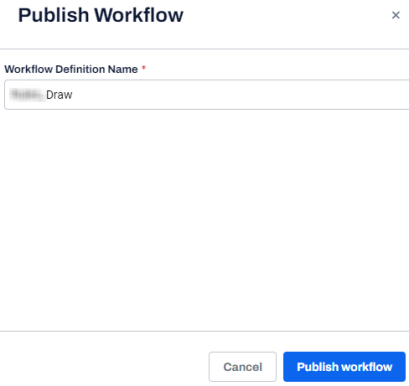
| 13. | Click Publish workflow. |