Creating a group
You can create a group and assign that to a user.
Note: Ensure that full access is provided to the Role Management permissions.
To create a group, perform the following steps.
|
1.
|
At the top-right of the page, click Settings  . . |
|
2.
|
On the left navigation menu, click Groups. |

Note: To view the profile of a user assigned to a group, in the Active tab, click information  next to the group name.
|
3.
|
On the Groups page, in the Active tab, click + New Group.
|
|
4.
|
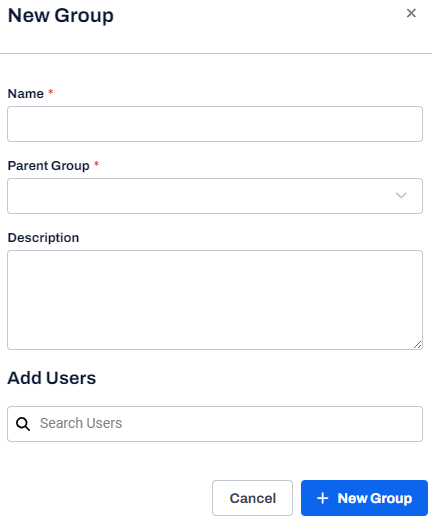
On the New Group dialog box, enter the following information. |

|
i
|
In the Name field, enter the group name. |
|
ii
|
In the Parent Group field, select the group from the drop-down. |
|
iii
|
In the Add Users field, select the user from the drop-down. |
A message is displayed indicating that the group is created successfully.
 .
.
![]() next to the group name.
next to the group name.
